Sometimes, shell scripting is just what you need to perform a given task. Here is a great article:
Great Foundation Beginner Tutorial
Deploy Dev Scotch Box with Vagrant
This may be the easiest way to setup a dev LAMP box on a Mac.
- See if Vagrant is installed. From the command line, type “vagrant -v”. If things are correctly installed the Vagrant version will be returned.
- Create a folder in your home directory to hold the VM. I will call my folder “scotchbox”.
- Navigate to scotchbox’s parent directory and clone the box from github using this command ”
git clone https://github.com/scotch-io/scotch-box.git scotchbox”
- cd scotchbox
- vagrant up (should take around 10 minutes)
Once it’s up, it should function at this address:
http://192.168.33.10/
and the files that are being served live in scotchbox/public
This is pretty easy.
New Web Development Workflow
I have had the long-standing habit of working alone, without version control. While many have scolded my workflow, it has been fast and mostly problem free. However, it’s time to change it and while there is a lot to learn in the version control and virtual machine space, actually setting up a dev box with git should be pretty quick (or so they say). So here goes: my notes on how to setup drupal and start theming a site, using git manage versions of the theme.
- install virtual box;
- download ubuntu server 14.04;
- using virtual box, create an ubuntu LAMP VM;
- configure port forwarding on the vm for mysql and ssh;
- start the vm from the CLI by issuing this command:
VBoxManage startvm ubuntu –type=headless
- connecting to mysql from the host system requires a different bind_address. change bind_address in /etc/mysql/my.cnf to 0.0.0.0 and restart mysql
- create a database for drupal by logging into your vm, connecting to mysql and issuing these commands (note: ignore curly quotes):
CREATE USER ‘user’@’localhost’ IDENTIFIED BY ”; //put password in the ”
GRANT ALL PRIVILEGES ON *.* TO ‘user’@’localhost’ WITH GRANT OPTION;
CREATE USER ‘user’@’%’ IDENTIFIED BY ”; //put password in the ”
GRANT ALL PRIVILEGES ON *.* TO ‘user’@’%’ WITH GRANT OPTION; - CREATE DATABASE dev;
- create a folder (“dev”) to hold drupal and download drupal into it
- configure drupal to use the mysql server in your vm. this involves copying sites/default/default.settings.php to settings.php and setting the permissions for the file;
- navigate to dev folder in CLI and issue this command:
php -S localhost:8000
- visit http://localhost:8000/ in a web browser to test that php is running and to setup the drupal service;
- choose the theme that you will customize and do some theming;
- create a repository to hold the theme and commit your local code to git.
Basement Wall Leak
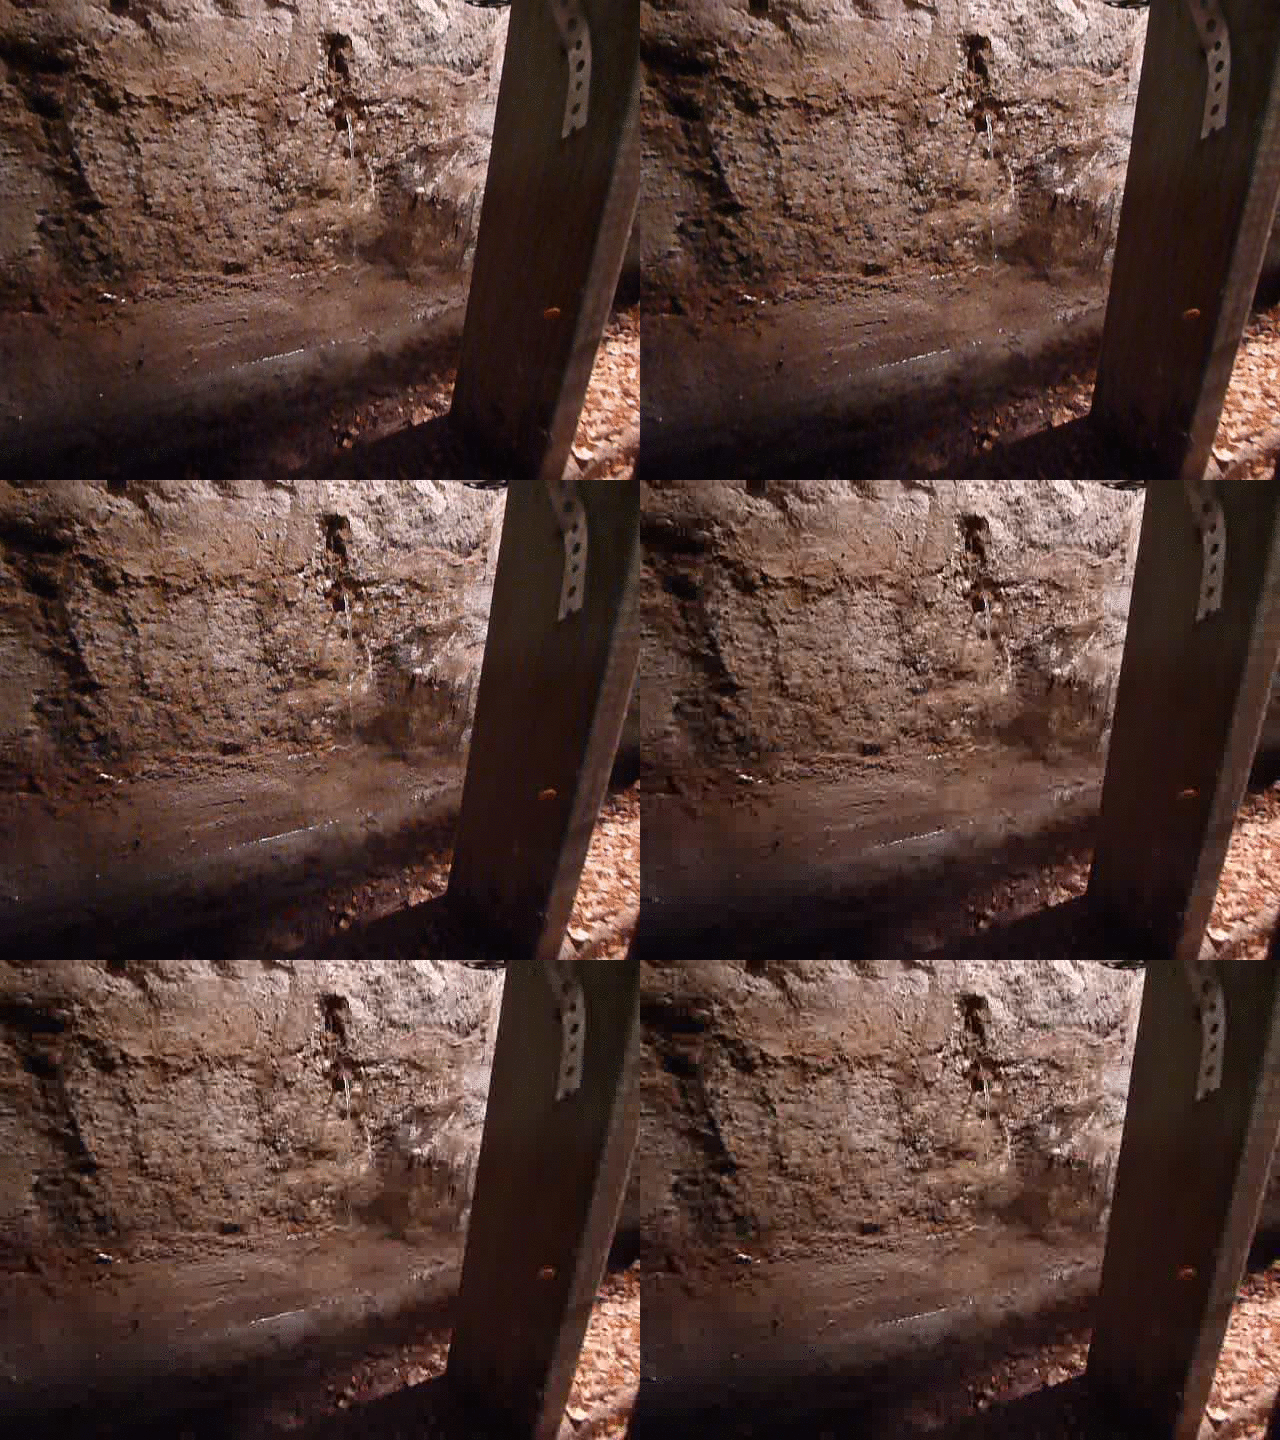
I don’t know if other people’s basement walls leak so graphically, but mine shoots a steady stream after a good rainfall.
